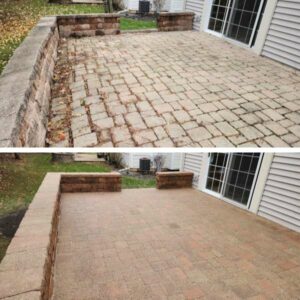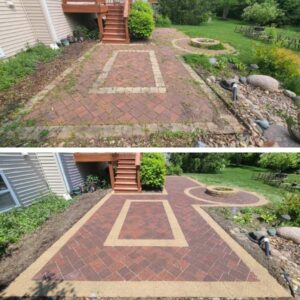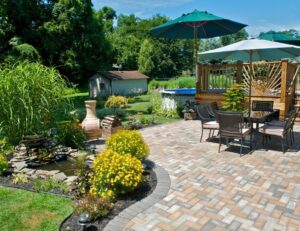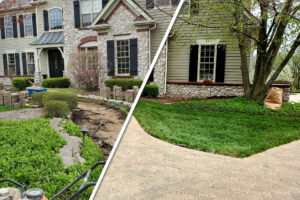
A paver patio is a beautiful and functional addition to any home, offering a versatile space for entertaining, relaxing, and enjoying the outdoors. But over time, exposure to the elements, foot traffic, and general wear and tear can leave your once-pristine patio looking faded, uneven, and stained. Fortunately, professional paver patio restoration can revive its appearance, enhance its durability, and protect your investment for years to come. In this guide, we’ll walk through the key steps involved in restoring a paver patio, highlighting how each one improves the safety, aesthetics, and longevity of your outdoor space.
1. Assessing the Condition of Your Patio
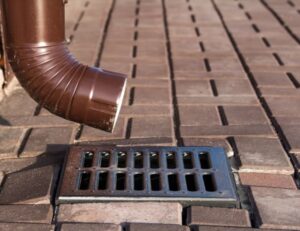
Before diving into the physical restoration work, a thorough assessment is crucial. This involves inspecting the entire patio for common issues like sunken pavers, loose joints, cracking, weed growth, mold, and surface discoloration. You may also want to consider any underlying drainage problems or edge deterioration.
Why This Step Matters
Skipping the assessment could mean overlooking foundational issues that will resurface even after cosmetic fixes. Restoration professionals take the time to identify problem areas that require structural correction as well as aesthetic improvements, ensuring the results are long-lasting and not just a temporary facelift.
2. Cleaning the Surface Thoroughly
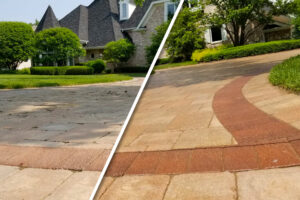
A deep clean is essential to remove years of dirt, grime, algae, moss, and stains from your patio. This usually involves pressure washing the entire area, often with eco-friendly detergents or degreasers to lift stubborn residues like oil or rust.
Why This Step Matters
Cleaning not only refreshes the appearance of your patio but also prepares the surface for critical follow-up steps like joint sanding and sealing. A clean surface ensures better adhesion of sealants and a more uniform finish. This is not the time for shortcuts—professional-grade cleaning tools and techniques make a major difference.
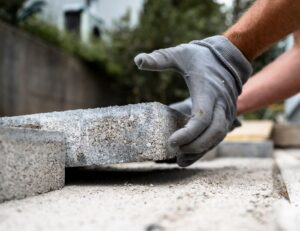
3. Re-Leveling and Replacing Pavers as Needed
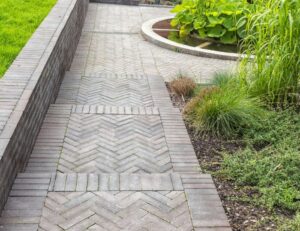
If you’ve noticed uneven or sunken areas, this step is vital. Restoration experts carefully remove the affected pavers, re-grade and compact the base layer, and reinstall the pavers to achieve a smooth, even surface. Damaged pavers that are cracked or chipped beyond repair are replaced with matching materials whenever possible.
Why This Step Matters
Uneven pavers can create tripping hazards and lead to water pooling. Re-leveling restores both the safety and function of the patio. Replacing broken pavers also helps maintain a cohesive and attractive appearance that reflects the care and quality of your outdoor space.
4. Refilling the Joints with Polymeric Sand
Once the pavers are reset, the gaps between them need to be refilled. Professionals use polymeric sand, a special type of sand that hardens when activated with water, locking the pavers in place while resisting erosion and weed growth.
Why This Step Matters
Ordinary sand can quickly wash away, allowing weeds to sprout and pavers to shift. Polymeric sand, on the other hand, enhances the structural integrity of the patio and adds a polished, clean look. It also minimizes maintenance and prevents ants and insects from nesting between the joints.
5. Sealing the Paver Patio for Long-Term Protection
After the joint sand has cured, sealing is the final—but arguably most important—step. High-quality paver sealers penetrate the surface to protect against UV fading, water damage, stains, and mildew. Some sealers even enhance the color, giving your patio a fresh, vibrant finish.
Why This Step Matters
Without sealant, your newly restored pavers are exposed to the same elements that caused the original deterioration. Sealing adds a layer of defense that keeps your patio looking newer for longer. It also makes future cleanings easier, as dirt and spills are less likely to penetrate sealed surfaces.
6. Ongoing Maintenance Tips After Restoration
Restoring your paver patio is only the beginning. To preserve the results, it’s important to implement a few key maintenance habits:
-
Sweep regularly to remove debris and prevent staining.
-
Reapply sealer every 2–3 years depending on exposure and usage.
-
Address any weeds or joint issues as soon as they appear.
-
Avoid using harsh chemicals that can break down sealer or paver material.
Why This Step Matters
Routine maintenance reduces the need for frequent full restorations and keeps your patio looking its best. It’s a low-effort way to protect a high-value investment.
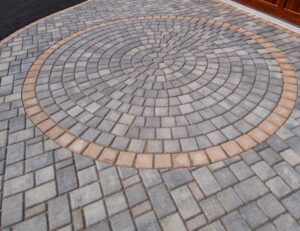
Restore the Beauty and Strength of Your Paver Patio
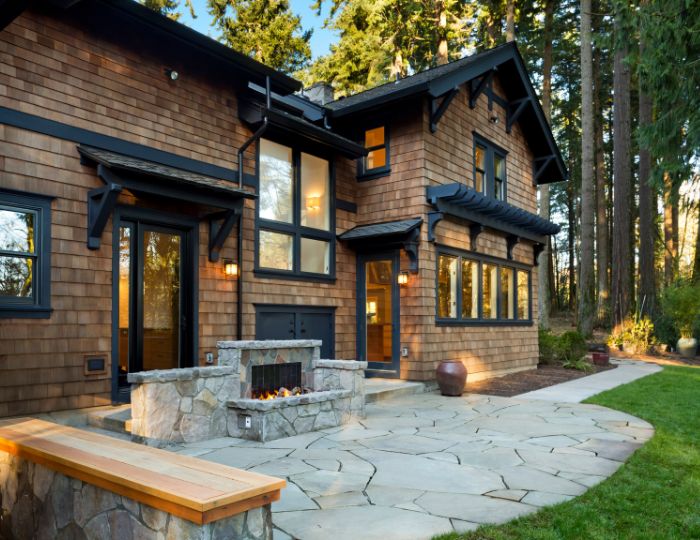
A faded, damaged, or uneven paver patio doesn’t have to be replaced—it can be professionally restored to look like new again. By investing in a full restoration, you enhance your home’s curb appeal, increase property value, and ensure the safety and enjoyment of your outdoor space for years to come.
Don’t settle for a patio that’s seen better days. Trust the experts at Amazing Paver Restoration to bring it back to life with precision, care, and expert craftsmanship. Contact us today for a free consultation and take the first step toward a patio you’ll love again!